Moving the Particles off the grid
I don't know about you, but I am getting tired of this grid format. Particles weren't designed to be stationary. Our particles want to roam. It is time to cut them free from their grid tethers.
As I mentioned early on, the Particle is just a holder for data. Not just any data. The Particle class holds the data that describes the particle itself. The location is not just any location. It is that Particle's location. The radius is that Particle's radius. Any data that is specific to this particle should exist inside this Particle and nowhere else.
When I think of a particle, I think of a dot in space. This dot is created, it follows the rules it was assigned, it is influenced by outside forces, and eventually it dies. Let's start with the act of creating.
In the previous section, our ParticleController made a few thousand Particles right away. All the Particles existed until the user quit the app. That will be our first change. We remove the second ParticleController constructor (the one that made the grid of Particles). From now on, the user will have to use the mouse to make new Particles.
Creating Particles with Mouse events
We are going to need to beef up our mouse related code. First up, we will add mouseDown() and mouseUp() methods to our project. We will also make a boolean that will keep track of whether a mouse button is pressed.
If any mouse button is pressed, mouseDown() will fire. Inside that function, all we do is set mIsPressed to true. If mouseUp() is called, mIsPressed will be set to false. Easy enough.
Finally, in our App class update() method, we add an if statement that checks to see if mIsPressed is true. If it is, then have the ParticleController make some new Particles.
We have gone ahead and changed the addParticles() method in ParticleController to take both the number of Particles we want as well as the location where we want to initially put them.
You might be thinking, "Hey, wait. If we make 5 particles and place all of them at the location of the cursor, we will only see 1 particle." We remedy this situation by adding a random vector to the location when we create the new Particle.
So we are making a new Particle at the location of the mouse, but we are also offsetting it in a random direction that has a length of 10.0. In other words, our 5 new Particles will all exist on a circle that has a radius of 10.0 whose center is the cursor position.
Particle death
If we allow every Particle to live forever, we will very quickly start dropping frame rate as hundreds of thousands of Particles begin to accumulate. We need to kill off Particles every now and then. Or more accurately, we need to allow Particles to say when they are ready to die. We do this by keeping track of a Particle's age.
Every Particle is born with an age of 0. Every frame it is alive, it adds 1 to its age. If the age is ever greater than the life expectancy, then the Particle dies and we get rid of it. First, lets add the appropriate variables to our Particle class. We need an age, a lifespan, and a boolean that is set to true if the age ever exceeds the lifespan.
Be sure to initialize mAge to 0 and mLifespan to a number that makes sense for your project. We are going to allow every Particle to live until the age of 200. In our Particle's update() method, we increment the age and then compare it to the lifespan.
Just having a Particle say "Im dead" is not quite enough. We need to also have the ParticleController clean up after the dead and remove them from the list of Particles. If you look back at the ParticleController update() method, you see we are already iterating through the full list of Particles. We can put our death-check there.
For every Particle in the list, we check to see if its mIsDead is true. If so, then erase() it from the list. Otherwise, go ahead and update() the Particle. You might notice this for loop is a little different than you're used to seeing. This is because we don't always want to increment our list iterator p. We only want to increment it if the particle isn't dead. Otherwise we'll set p to be the result of calling erase() (this is standard practice for using the STL's list class).
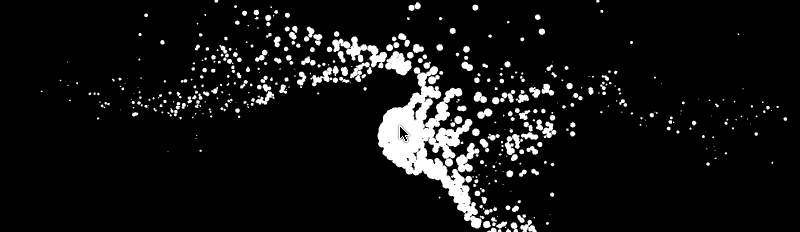
Hurray, you have just made a Particle cursor trail.
Particle velocity
Up until now, our Particles have been stationary. We did do some position perturbations in the last section, but the location of the Particle (mLoc) never changed. It is time to remedy this. We are going to finally make use of velocity.
Velocity is the speed that something moves multiplied by the direction that something is moving. You can add velocity to position to get the new position. If velocity never changes, then the Particle will move in a straight line. That will be our first test case with Velocity.
It is incredibly simple, really. All you need is one additional Vec2f in your Particle. We will call it mVel. When you initialize mVel, you set it equal to a random 2D vector.
Since we are going to deal with constant velocity, we can just leave it at that. Each Particle, when it is created, is assigned a random velocity. To make the Particle obey that velocity, you add it to the location.
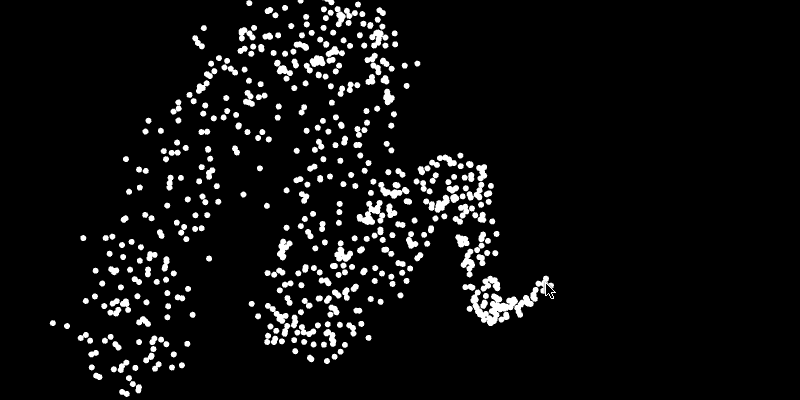
When you run the project, as you click and drag you will create a trail of Particles that move away from their point of creation at a constant speed until they die.
Perhaps you don't want them to move forever. Maybe you just want them to exhibit a burst of velocity at birth but that velocity will trail off until the Particle isn't moving at all. To accomplish that, you simply multiply the velocity with a number less than 1.0. This is referred to as the rate of decay which we will call mDecay.
As you can see, if we set mDecay to 1.0, the velocity will show no change over time. If we use a number greater than 1.0, the velocity will increase exponentially to infinity. This is why we try to keep the rate of decay less than 1.0. It is far more desirable a feature to have something slow to a stop than to have something speed up to infinity. But this is just a personal choice... feel free to go crazy!
I am going to interject here for a moment and fix something that has been annoying me. As it stands, all the Particles created in any given frame disappear at the same time. It feels rigid and obvious so lets use a little randomness to get us something more organic.
There, all better. Now the Particles die at different rates. Moving on.
Another aesthetic trick that is useful with Particles is to pay attention to the ratio of mAge/mLifespan. Or in many cases, 1.0 - mAge/mLifespan. Say, for example, you want to make the Particles shrink out of existence instead of just disappearing. If you have a number from 1.0 to 0.0 that represents how old it is in relation to how old it is allowed to get, you can multiply the radius by that age percentage to make the Particle fade away as it dies.
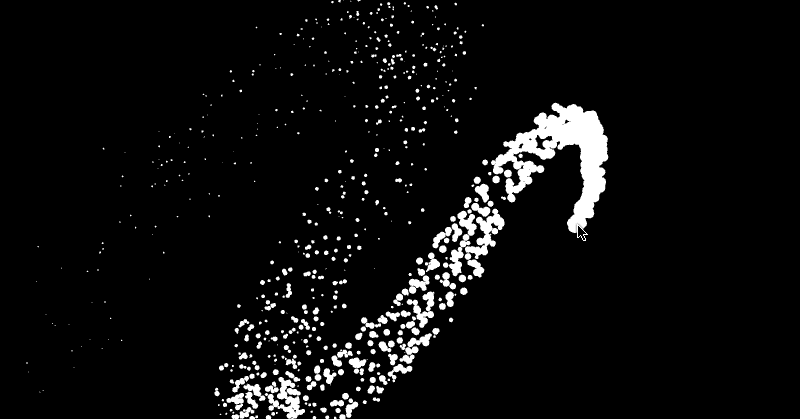
This is another tiny trick that has a surprisingly effective result. We currently have a scenario where it seems Particles are coming out of the mouse cursor. We can really push this effect by setting the initial velocity of the Particle to be equal to the velocity of the cursor. This will make it seem like Particles are being thrown from the cursor instead of just being passively deposited.
Every frame, we are going to subtract the previous location of the cursor from the current location of the cursor in order to find the cursor's velocity. Once we have the cursor velocity, we can pass it to each Particle (like we do with the mouseLoc) and initialize the Particle's mVel with this new mouse-made velocity.
If you go ahead and do this, you will probably find the results a little annoying. The Particles appear and move in awkward clumps. There are two things we can do to fix this.
1) We don't actually want the initial velocity to be the same as the mouse. Once tested, the initial movement feels to fast. It looks much better if we multiply it by .25.
2) We should add a random vector with a random speed to our cursor velocity in order to make the Particles spread out a little more. Otherwise, every frame our cursor will make a few new Particles and send them all traveling in the same direction.
What you have just seen is pretty much my entire coding process. Run the code. Find something that doesn't quite feel right. Tweak it. Repeat. An endless cycle of trying to make things slightly better. In keeping with this sentiment, I just noticed that the Particles shouldn't all decay at the same rate. Time to make that randomized as well.
Enter Perlin noise
Oh man, how I LOVE Perlin noise. When used sparingly, Perlin noise can add some magic to your Particle systems. But be aware, it is very easy to overuse and abuse Perlin noise. Subtlety is key.
What is Perlin noise? Wikipedia can give you a very thorough answer to that question. In short, Perlin noise is a smoothly interpolated, easily controllable random number generator. One of the cool things about it is that Perlin noise can be defined in 1D, 2D, 3D or 4D, and it will always give us back a consistent value for a particular location. Cinder has a built-in implementation, and here it is:
Don't forget to #include "cinder/Perlin.h". Now that we have an instance of Perlin, we need to pass it along to our Particles so they can make use of it. You will do that the same way you passed the Channel to each Particle.
Once the Particle has the Perlin reference, you can use the Particle's location as an input and get back a float, or if you choose you can get back a Vec2f or Vec3f but that is a bit more time consuming. We are going to stick with just getting back a single float per Particle.
First, what the hell is fBm(), right? That stands for fractional Brownian motion. Google it! But in our case it's just the function we call to get a noise value for a particular location. Second, whats with the weird Vec3f made of only two parameters? Let me break it into a slightly different version to make it easier to see what I am doing.
The reason I am sending a 3D vector to Perlin is that I am interested in getting back the result based on the Particle's position and time. As time passes, even if the Particle is stationary (meaning that the first two parameters in the noise calculation are not changing), the Perlin noise will continue to animate.
So what do we do with that noise? Since we are dealing with Particles that are moving in a 2D space, we could treat the noise like an angle and use sin(angle) and cos(angle) to get an x and y offset for our Particle. Since the noise smoothly changes, our resulting angle will also smoothly change which means our Particles wont end up moving along a jagged path.
Perlin fBm() returns a value between -1.0f and 1.0f. We chose to multiply that result by 15.0f to keep the Particle from favoring a specific direction. If that multiplier is too small, you will find that the Particle's will all generally move to the right. We want our Particles to move all over, hence the 15.0f.
The math geeks will note that noise * 15.0f will give you a possible range of 30.0, and we all know there are only 2 π or 6.28318 radians in a circle, So why not multiply noise by π which will give us a range of 2 π ? Even though Perlin results will stay within the -1.0f to 1.0f range, this doesn't guarantee the results will give you an even distribution in that range. Often, you will find the Perlin results stay between -0.25f to 0.25f. If we simply multiply the noise by π (creating a range from - π to π ), we will get randomized movement that appears to favor a specific direction. The way to avoid this is to spread the result out into a greater range. You should play around with these numbers to get a better idea of what I mean.
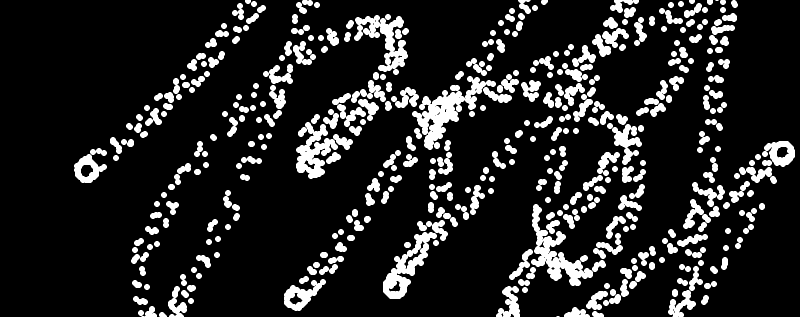
What does it look like? Well, it looks like Perlin noise.
In fact, it looks a little too much like Perlin. This is what we were alluding to earlier in this section when we mentioned that subtlety is key. This effect, though pretty, looks like everyone else's Perlin effect. Don't believe me? Do a Google image search for Perlin noise flow field and you will see plenty of experiments that look just like this. Lets tone it back a bit.
We also threw in the ( 1.0f - agePer ) because we want the Perlin influence to be nonexistent at the Particle's creation and have it grow stronger as the Particle ages. This creates a nice effect in which the Particles push away from the cursor and as they dwindle in size they dance about more and more until they vanish.
Sadly, this is not that exciting as a still image. We need to make a video. You'll notice these lines at the bottom of TutorialApp::draw().
This makes use of the Cinder function writeImage(), which takes a file path as its first parameter, and an image as its second. In our case we'll want to use the built-in function copyWindowSurface(), which returns the window as a Surface. You can also pass writeImage() things like a gl::Texture. You'll also notice the use of the function toString(), which is a handy function in Cinder which can take anything you can pass to console(), which includes all the C++ default types as well as many of the Cinder classes, and return it in string form. So this call will send a sequence of images to your home directory, each named image_frame#.png. The resulting sequence of images can be assembled in QuickTime or pretty much any video program.